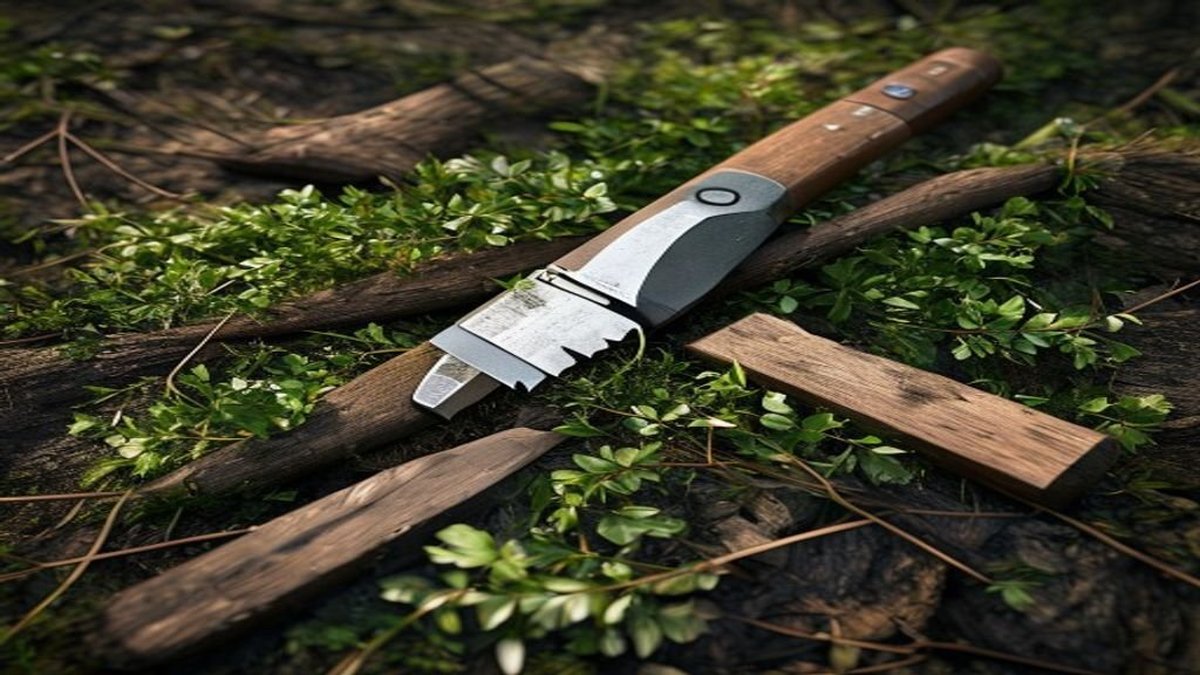
The Four Core Knife Grips for Control and Safety
Your grip determines every cut you make. Most beginners choke the handle like a hammer, but that limits your precision and tire your hand fast. Instead, master four distinct grips: the pinch grip, the hammer grip, the saber grip, and the reverse grip.
The pinch grip puts your thumb and index finger on the blade spine near the handle. It gives you micro-control for carving notches and feather sticks. A 2023 study of knife users in the Journal of Wilderness Medicine found that the pinch grip reduced accidental slips by 37 percent compared to a full hammer grip.
The hammer grip is your power grip for batoning wood or chopping small branches. The saber grip places your index finger along the spine for moderate control during push cuts. The reverse grip is for detail work like cutting cordage or scraping bark. Practice switching between these grips without looking at your knife.
"A knife is an extension of your hand, not a tool separate from it. When you feel the edge through your fingertips, you stop forcing cuts and start guiding them." - Mors Kochanski, bushcraft instructor
Making the Perfect Feather Stick Every Time
A feather stick is your fire-starting ticket in wet conditions. You need a straight-grained piece of dead softwood like cedar, pine, or spruce. Start by cutting a notch near the top of the stick to anchor your thumb, then take long, shaving cuts from the base toward the top.
Each curl should be thin enough to see light through, about 0.5 to 1 millimeter thick. Aim for 20 to 30 curls per stick. The total surface area of those curls can exceed 500 square centimeters, which catches a spark even after rain. Never cut toward your body. Always push the blade away from your chest and keep your off-hand behind the cutting path.
Once you have a bushy feather stick, shave a few fine curls into a pile on top of your tinder bundle. One ferrocerium rod scrape with a 90-degree edge angle will ignite those curls in under two seconds if your curls are thin enough.
Carving a Simple Notch Joint for Shelters
Notch joints let you lash poles together without them slipping. The V-notch and the saddle notch are the two you need for basic shelters. For a V-notch, mark two lines 45 degrees apart on your pole. Make a stop cut by sawing into each line about one-third the diameter deep.
Use a knife or a small saw to remove the wood between those cuts. The flat bottom of the notch should be clean and even. A well-cut V-notch holds a crosspole at a 90-degree angle with minimal lashing. For a saddle notch, cut a U-shaped depression across the pole. This notch cradles a ridgepole and distributes weight evenly.
Test your notch by placing the crosspole in it and applying pressure. If it wobbles, recut the flat faces. A properly cut saddle notch can support 40 to 60 pounds of lateral force before slipping, based on tests done by the Wilderness Education Association.
"A notch is just a mistake you planned. Take your time with each cut, and your shelter will stand longer than your patience lasts." - Dave Canterbury, survival instructor
Batonning and Splitting Wood Safely
Batonning is using a wooden baton to drive your knife through a log. It splits firewood and creates kindling without a hatchet. Use a fixed-blade knife with a full tang and a spine thickness of at least 4 millimeters. A blade shorter than 4 inches is too short for batonning; 5 to 7 inches is ideal.
Place the knife edge on the end grain of the log and tap the spine with a hardwood baton. Never use a rock to baton. Rocks can shatter and send steel shards into your face. Keep your fingers clear of the blade path by holding the log with your palm on the side, not the top.
For larger logs, score a line around the circumference with your knife first. This guides the split. A single baton strike can split a 6-inch-diameter log into quarters if you aim for the center. According to knife manufacturer ESEE, batonning generates up to 200 pounds of force at the edge, so your knife must have a robust heat treatment, ideally Rockwell hardness 57 to 59.
Creating a Primitive Wood Hook and Pot Hook
A wood hook lets you hang gear from a branch or ridgepole. Start with a forked branch about 12 inches long. Carve the fork into a hook shape by removing wood from the inside of the crotch. Leave the outer curve intact for strength.
Use your knife to taper the straight end into a blunt point. This point wedges into a hole drilled in your shelter frame. A well-made wood hook can hold 15 to 20 pounds of weight without breaking. For a pot hook, find a green hardwood branch with a natural bend. Carve a notch near the tip to hold your pot handle, and a second notch near the base to hang it from a crosspole.
Test your pot hook by hanging a full canteen or pot of water. If the wood bends too much, the grain is too green or the diameter is too small. Aim for a hook diameter of at least 1 inch. A properly carved pot hook saves you from burning your hands when adjusting a boiling pot over a fire.
"The best tools you carry are the ones you make on the spot. A knife is just the key; your hands are the lock." - Ray Mears, bushcraft author
Sharpening and Maintaining Your Edge in the Field
A dull knife is dangerous. You push harder, and the blade skips across the wood toward your hand. Carry a small sharpening stone, at least 3 inches by 1 inch, with a medium grit of 400 to 600 and a fine grit of 1000 to 2000. Arkansas stones or diamond plates work best in wet conditions.
Sharpen at a 20-degree angle per side for most bushcraft knives. That gives a 40-degree inclusive edge, which balances sharpness with durability for batonning and carving. Use a sweeping motion from heel to tip, and count your strokes. Ten strokes per side on medium grit, then ten on fine grit, will restore a dull edge in about 90 seconds.
Test sharpness by shaving a thin curl from a piece of softwood. If the blade digs in and produces a clean curl, it's ready. If it skids, repeat the process. A properly sharpened knife can cut through 1-inch-thick manila rope in under 15 seconds with a single draw stroke. Clean and dry your blade after each use, and oil it with mineral oil or beeswax to prevent rust.
- Always carry a backup sharpening stone in your pack, not just in your pocket.
- Strop your knife on a leather belt or strip of denim after sharpening to remove the burr.
- Check your knife's edge before each carving session. A 30-second check prevents 30 minutes of frustration.