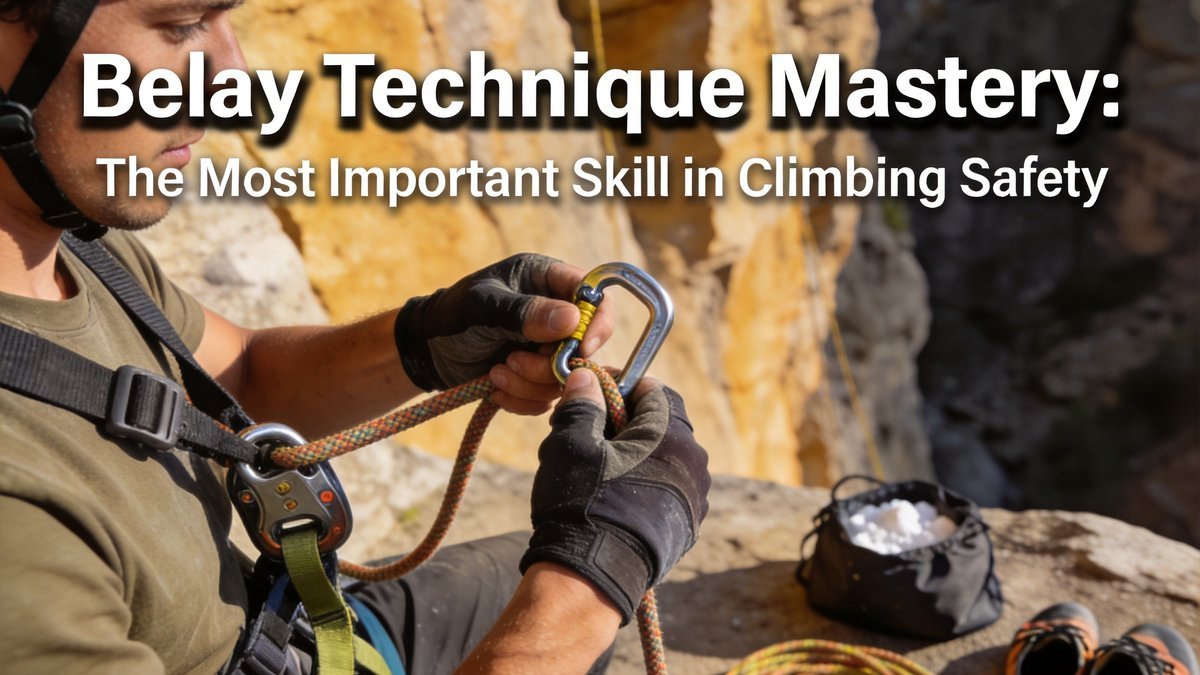
The belayer holds the climbers life in their hands. Proper belay technique is not optional it is the foundation of safe climbing for every partnership.
Key Takeaways
- The brake hand must never leave the rope. This is the single most important rule of belaying and the cause of most belay accidents when violated.
- Maintain a firm grip on the brake strand at all times. Even a momentary release can result in a ground fall with serious consequences.
- Communicate clearly with your climber before every climb. Standard commands include On Belay, Climbing, Slack, Take, and Lower.
- Practice catching falls on a top rope before attempting lead belay. Developing an instinctive brake response takes deliberate practice.
The Fundamentals of Belaying
Belaying is the technique of managing the rope to protect a climber from falling. The belayer controls the rope through a belay device that creates friction, allowing them to arrest a fall by gripping the brake strand. This seemingly simple action requires focused attention, proper positioning, and consistent technique throughout the entire climb.
The brake hand position is non-negotiable. The brake hand grips the rope below the belay device and must never release contact with the rope. The guide hand above the device manages rope feed and take-up. The brake hand slides up the rope to pull slack through the device, then returns to its position below the device. This hand-over-hand motion must become automatic through practice.
Position yourself close to the wall or cliff edge with your feet shoulder-width apart and knees slightly bent. Your body should be positioned to absorb fall forces without being pulled off balance. Keep a slight downward tension on the brake strand at all times. Watch your climber continuously rather than looking at the scenery or your phone.
Top Rope Belay Technique
Top rope belaying is the most common starting point for new climbers. The rope runs from the belayer up to an anchor at the top of the climb and back down to the climber. Top rope falls are short because the rope is tensioned from above. The primary skill is taking in rope as the climber ascends and lowering them safely when they finish or fall.
Taking in rope efficiently requires the PBUS method: Pull the slack rope through the device, Brake by pulling the brake hand down, Under clip the rope with your brake hand, Slide the brake hand back up to the guide position. This sequence should become smooth and automatic. Practice the motion at home with a rope and device before using it at the crag.
Lowering a climber requires controlled rope feed through the device. Keep both hands on the brake strand below the device and slowly release tension to lower the climber at a steady rate. Lower too quickly and the climber drops uncontrollably. Lower too slowly and you create jarring stops. Smooth, controlled lowering demonstrates mastery of the system.
Lead Belay: Advanced Techniques
Lead belaying requires additional skills beyond top rope belaying. The belayer must feed rope smoothly as the climber clips, provide dynamic catches for longer falls, and manage rope position to prevent dangerous situations. Lead belaying demands constant attention because falls can be long and forces can be high.
Clipping sequence requires the belayer to provide exactly the right amount of slack. Too little slack prevents the climber from clipping the rope into the quickdraw. Too much slack increases fall distance. Watch the climber's hand position to anticipate clipping movements. Provide a small, quick feed of slack as the climber reaches for the clip, then return to normal tension.
Dynamic belaying or soft catching involves a slight upward jump or controlled give in the system as the climber falls. This reduces the peak impact force on the climber and the gear. A dynamic catch feels gentler than a hard catch where the belayer is anchored solidly. Practice dynamic catches with willing climbers on overhanging routes where the risk of decking is minimal.
Belay Devices: Types and Selection
Tubular belay devices including the Black Diamond ATC and Petzl Reverso are the most traditional and versatile options. They work well for top rope and lead belaying, rappelling, and managing two ropes. Tubular devices generate friction through rope bending and require the belayer to maintain a firm brake grip at all times.
Assisted braking devices including the Petzl GriGri and Edelrid Mega Jul provide backup braking that engages automatically during a fall. These devices have become standard for sport climbing because they reduce the risk of belayer error. However, assisted braking devices require proper technique and should not create a false sense of security. Always maintain the brake hand position regardless of the device type.
Device selection depends on your climbing style and preferences. Tubular devices are lighter, cheaper, and more versatile for alpine and trad climbing. Assisted braking devices provide additional safety for sport and gym climbing. Many climbers own both types and choose based on the day's objectives. Try different devices before committing to one.
Partner Communication and Safety Checks
Standard climbing communication follows an established protocol. The climber asks On Belay before starting. The belayer confirms Belay On when ready. The climber announces Climbing and the belayer responds Climb On. These exchanges ensure both partners are ready before the climber leaves the ground. Never skip these checks even with familiar partners.
The partner safety check is a pre-climb ritual that prevents deadly mistakes. Before every climb, both partners check that the climber's harness is threaded correctly through both belt and leg loops, the tie-in knot is properly dressed and cinched, the belay device is loaded correctly, the carabiner is locked, and the belayer's harness is also properly secured. Verbalize each check point rather than silently inspecting.
Emergency communication protocols prepare both partners for unexpected situations. Agree on commands for emergencies before starting. The words Falling and Take mean immediate actions. A long continuous yell means I need help beyond what our system provides. Practice emergency lower procedures and know how to escape the belay if you need to assist your partner.
"The most dangerous moment in belaying is the first five seconds after a fall. Adrenaline surges, attention scatters, and the instinct to let go competes with trained response. This is why brake hand discipline must become automatic, not a conscious decision."
"A belayer who watches the climber every second is worth more than the most expensive gear money can buy. Distracted belaying causes more accidents than equipment failure. Your job is to watch the climber, nothing else matters during their climb."
Frequently Asked Questions
What is the most common belaying mistake?
Releasing the brake hand is the most common and most dangerous belaying mistake. This typically happens when the belayer reaches above the device to adjust the rope or becomes distracted during the climb. The brake hand must always grip the rope below the device. If you need to adjust your position, first lock off the climber securely.
How tight should the belay be on a top rope?
The belay should be snug but not tight on top rope. Too much slack increases fall distance and potential injury. Too much tension restricts the climber's movement and creates an uncomfortable climbing experience. The belayer should maintain slight tension that removes rope stretch but does not pull the climber upward.
Can I belay someone heavier than me?
Belaying a heavier climber requires additional precautions. Use an assisted braking device for increased safety. Anchor yourself to the ground or a heavy object to prevent being pulled upward during a fall. Stand close to the wall to minimize leverage. Communicate with your climber about the weight difference before starting.
How do I catch a lead fall safely?
Catching a lead fall requires preparation and practice. Watch the climber continuously and anticipate where a fall might occur. When the climber falls, allow the rope to slide through the device smoothly while maintaining control rather than locking immediately. A soft catch reduces impact forces. Practice catching falls on overhanging terrain where falling is safe.