Table of Contents
Wildlife photo editing tips covering color correction, noise reduction, sharpening, background cleanup, and ethical editing boundaries for nature photography.
Jordan Myers
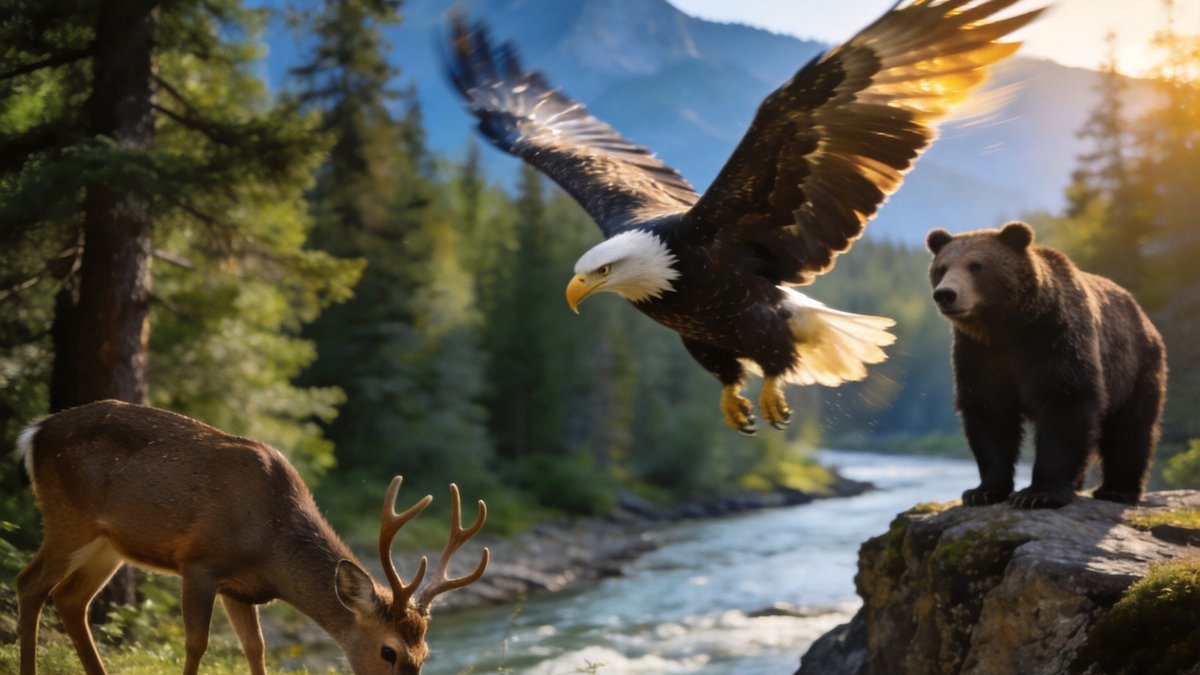
Wildlife photo editing tips covering color correction, noise reduction, sharpening, background cleanup, and ethical editing boundaries for nature photography.
Wildlife photo editing tips covering color correction, noise reduction, sharpening, background cleanup, and ethical editing boundaries for nature photography.
Wildlife photo editing exists on a spectrum between capturing reality and creative interpretation. Ethical wildlife editing enhances what was present in the original scene without adding or removing significant elements. Adjusting exposure, contrast, color balance, and cropping are standard practices. Removing or cloning out major elements, adding animals from other images, or dramatically altering habitat constitutes manipulation.
The line between enhancement and manipulation varies by publication and competition standards. National Geographic applies strict rules against removing or adding elements. Wildlife photography competitions prohibit any digital manipulation that changes the content of the original image. When in doubt, disclose your editing process. Transparency builds trust with your audience and maintains the integrity of wildlife photography.
The best wildlife editing makes the viewer feel like they were there. It reveals what the camera could not quite capture, not what the photographer wishes had been there. If your edit changes the story of the image, you have crossed from photography into digital art.
Wildlife images often suffer from exposure challenges due to difficult lighting conditions. Start your editing workflow with global exposure adjustments. Adjust the exposure slider to achieve proper brightness, then use the histogram to check for clipped highlights or blocked shadows. Recovery sliders can bring back detail in slightly overexposed fur or feathers.
White balance correction is particularly important for wildlife images captured in challenging light. Shade and overcast conditions can produce blue casts. Golden hour light may be too warm. Use the white balance selector tool on a neutral gray area of the image, such as a rock or cloud, to set accurate color temperature. Fine-tune with tint adjustments for natural skin and fur tones.
Wildlife photographers often shoot at high ISO settings to maintain fast shutter speeds in low light, resulting in image noise. Modern noise reduction software including Adobe Lightroom's AI Denoise, Topaz Denoise AI, and Dx O Pure RAW produce remarkable results while preserving detail. Apply noise reduction selectively to the background rather than the animal subject to maintain feather and fur detail.
Luminance noise reduction smooths the grainy appearance, while color noise reduction removes random color speckles. Apply these adjustments conservatively, as excessive noise reduction creates a plastic, artificial appearance. View your image at 100% zoom while adjusting noise reduction to monitor the trade-off between smoothness and detail retention.
Sharpening is essential for wildlife photography to bring out the detail in fur, feathers, and eyes. Apply sharpening selectively rather than globally to avoid emphasizing noise in out-of-focus areas. Masking sliders allow you to limit sharpening to high-contrast edges where detail exists, leaving smooth areas like sky and water untouched.
The sharpening workflow should be the last step in your editing process, as resizing and other adjustments can affect sharpness. Output sharpening should match your intended use: less for web display, more for print. Different animal textures require different sharpening amounts. Birds with smooth feathers need less sharpening than mammals with coarse fur.
Distracting elements in the background detract from even the most perfectly exposed wildlife subject. Clone out small distracting elements like twigs, sensor spots, or human-made objects that draw the eye away from the animal. Use the healing brush and clone stamp tools conservatively. If a background element is large or integral to the scene, consider whether removing it crosses the ethical line.
Cropping is one of the most powerful composition tools available in post-processing. Tighten the frame to remove empty space and improve the animal's placement within the composition. Maintain the rule of thirds and leave space in the direction the animal is looking or moving. Be careful not to crop too tightly, as some environmental context helps tell the animal's story.
For wildlife photographers working in the Pacific Northwest, the Canon R5 paired with a 100-500mm f/4.5-7.1L IS USM lens has become a go-to setup for capturing Roosevelt elk in Olympic National Park's Hoh Rainforest. The dense canopy creates extreme contrast, often requiring exposure compensation of +1 to +1.3 stops to properly expose dark elk fur against bright ferns. In post-processing, using Lightroom's graduated filter tool to selectively brighten shadowed areas by 0.5-0.7 stops while pulling down highlights by similar amounts preserves the moody rainforest atmosphere without losing detail in either extreme.
Color grading for wildlife images benefits from understanding the specific light quality of different habitats. On the 8.2-mile Hoh River Trail to the Blue Glacier overlook, the green color cast from moss-covered trees can be neutralized by adjusting the green primary hue slider +5 to +10 points and reducing green saturation by 10-15%. For coastal species like black oystercatchers photographed along the 1.3-mile Cape Perpetua Trail in Oregon, the blue reflection from ocean spray requires shifting the blue primary hue -3 to -5 points while adding +5 to +8 points of warmth to the highlights using the split toning panel.
Ethical considerations extend to how much background cleanup is appropriate for different publication standards. Trail & Summit recommends that for competition submissions to the North American Nature Photography Association, photographers limit cloning to removing sensor dust spots smaller than 1% of the frame area. For editorial use in magazines like Outdoor Photographer, removing a single distracting branch that crosses behind a mountain goat's head on the 6.8-mile Highline Trail in Glacier National Park is acceptable, but cloning out an entire log jam from the foreground would violate ethical guidelines. The key distinction is whether the removed element existed in the scene or was added from elsewhere.
Sharpening techniques must account for the specific challenges of different wildlife subjects and camera systems. For images of pronghorn antelope captured at 1/2000th second with a Nikon Z9 and 800mm f/6.3 VR S lens on the 4.2-mile Sage Creek Loop in Badlands National Park, apply a radius of 0.8 pixels with an amount of 65-75 and a masking slider set to 40 to protect the smooth prairie grass background. Birds in flight, such as golden eagles photographed along the 3.5-mile Rifle Arch Trail in Colorado, require a radius of 1.0 pixel with an amount of 80-90 and masking at 20 to maintain edge definition on wing feathers while avoiding over-sharpening the sky. Always view sharpening adjustments at 100% zoom on a calibrated monitor, as the 27-inch Apple Studio Display provides accurate color reproduction for critical detail evaluation.
When processing raw files from your Yellowstone bison encounter, start by recovering shadow detail in Adobe Lightroom while keeping the highlight slider between -10 and -20 to preserve fur texture. Pull the dehaze slider to +15 for Yellowstone's notorious thermal area haze, but avoid going above +25 or you'll introduce unnatural halos around the animal's silhouette. For birds in flight against overcast skies, boost the clarity slider to +10 and use the radial filter to darken the background by 0.5 stops, which makes those white pelicans pop without overprocessing.
Noise reduction is critical for dawn shoots in Grand Teton's willow flats where ISO 3200 is common. Apply Luminance noise reduction at 25-35 with Detail set to 70, then use the mask brush on the animal's eye and beak to keep those critical sharp areas untouched. For moose images captured with a Nikon Z8 and 200-500mm lens, apply sharpening at Amount 40, Radius 1.0, and Masking 60—hold Alt while dragging the masking slider to see only the edges sharpen, leaving the soft brown fur smooth and natural.
Remove sensor dust spots and background distractions using the spot removal tool set to Heal mode, not Clone, to maintain natural texture in the bokeh. When editing a coyote hunting in sagebrush, use the adjustment brush with -15 texture and -20 sharpness to soften the out-of-focus foreground grass, guiding the viewer's eye directly to the animal's alert ears. Always save your final wildlife edit as a 16-bit TIFF before converting to s RGB JPEG—this preserves the subtle tonal transitions in a wolf's gray coat across different monitor calibrations.
Maintaining appropriate distance from wildlife protects both you and the animals. Use the rule of thumb: if the animal changes its behavior because of your presence, you are too close. Signs of stress include a raised head, flattened ears, tail position changes, and vocalizations. For large mammals like bears and moose, maintain at least 100 yards of distance. For smaller animals like foxes and deer, 25 yards provides adequate space for both observation and safety.
Wildlife photography should never come at the expense of the subject well-being. Use a telephoto lens of at least 300mm to capture detailed images from a safe distance. Never feed, call, or harass animals to get a better shot. Avoid using flash at night, which can disorient nocturnal animals. Be especially careful around nesting sites and during mating seasons when animals are more sensitive to disturbance.
Maintaining appropriate distance from wildlife protects both you and the animals. Use the rule of thumb: if the animal changes its behavior because of your presence, you are too close. Signs of stress include a raised head, flattened ears, tail position changes, and vocalizations. For large mammals like bears and moose, maintain at least 100 yards of distance. For smaller animals like foxes and deer, 25 yards provides adequate space for both observation and safety.
Wildlife photography should never come at the expense of the subject well-being. Use a telephoto lens of at least 300mm to capture detailed images from a safe distance. Never feed, call, or harass animals to get a better shot. Avoid using flash at night, which can disorient nocturnal animals. Be especially careful around nesting sites and during mating seasons when animals are more sensitive to disturbance.