The Reality of Wilderness Emergencies
You're miles from the nearest road. Your hiking partner has taken a bad fall, and the bleeding won't stop. When you pull out your phone, the signal reads zero bars. This isn't a scene from a survival movie—it's a scenario that plays out hundreds of times each year in national parks and remote trails. The National Park Service logs nearly 3,000 search-and-rescue incidents annually, and in deep backcountry, getting a patient to definitive care can take 2 to 4 hours even with helicopter support.
Wilderness first aid isn't just about carrying bandages. It's about stabilizing an injury and making decisions that buy time until professional help arrives. The real challenge is that most of us learned basic first aid in a classroom, not under pressure with darkness falling and temperatures dropping. You need a system, not just supplies.
"In the backcountry, your first aid kit isn't just gear—it's a decision-making framework. Training trumps equipment every time." – Dr. Sarah Lin, Wilderness Medicine Instructor
Build a Go-Anywhere First Aid Kit
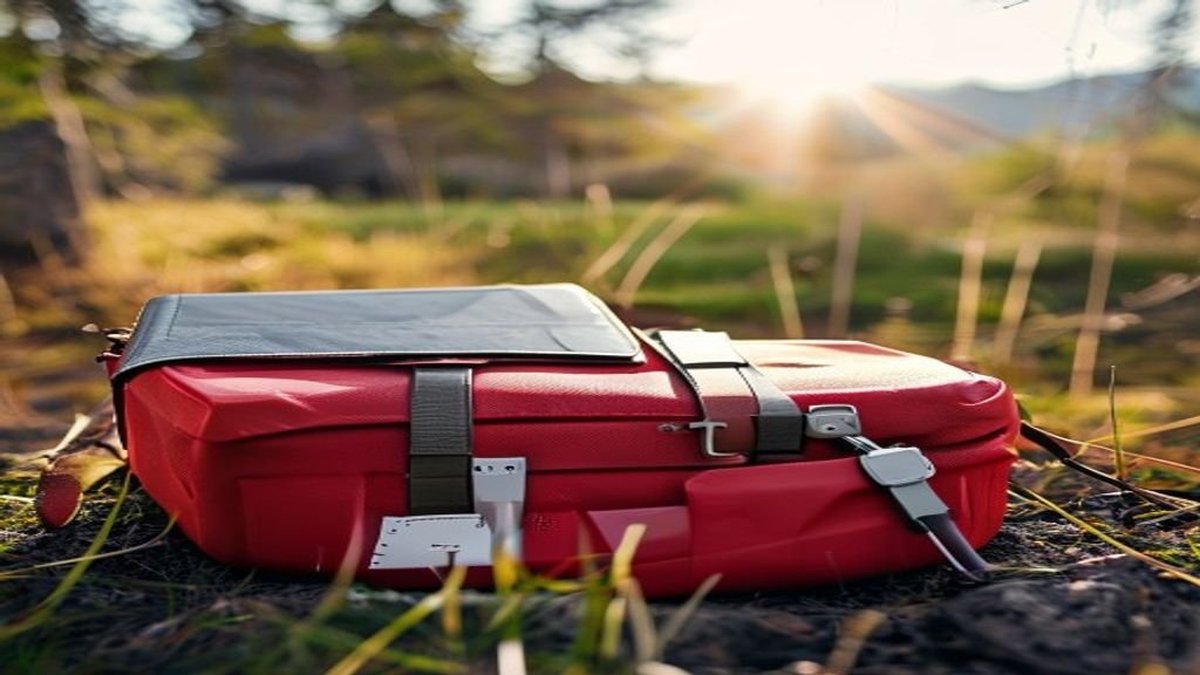
A prepackaged kit from the drugstore won't cut it when you're hours from help. You need a kit tailored to the environment and the group size, and you need to know how to use every single item. Start with a durable, waterproof dry bag or hard case. Then stock these essentials:
- Hemostatic gauze and a windlass-style tourniquet for massive bleeding
- Self-adherent elastic wrap and SAM splints for fractures
- Blister care: moleskin, alcohol wipes, and a safety pin
- Antiseptic wipes, irrigation syringe, and antibiotic ointment
- A variety of adhesive bandages, butterfly closures, and medical tape
- Gloves, trauma shears, and a space blanket
- Oral rehydration salts and antihistamines
- A small notebook and pencil for recording vitals and times
Don't forget your own medications and a backup supply. A 2021 survey of wilderness first responders found that 67% of evacuations were delayed because the patient or rescuer lacked critical items like splinting material or clotting agents. Your kit won't help if you left it in the car. Carry it every time.
You also need to waterproof everything. A zip-top bag can fail if submerged. Use vacuum-sealed pouches or multiple layers of protection for medications and electronic devices like a personal locator beacon.
"A fracture managed poorly in the field can lead to a lifetime of chronic pain. Take the extra 10 minutes to splint properly; your future self will thank you." – Mark Torres, Search and Rescue Veteran
Stabilize Life-Threatening Bleeding
Bleeding is the number one preventable cause of death in trauma. When you're remote, every second counts. The mistake most people make is applying pressure through a single cloth and lifting it to check. That disrupts the clotting process. Instead, pack hemostatic gauze directly into the wound cavity, then hold firm, continuous pressure for at least 10 minutes. If blood soaks through, add more gauze on top—never remove the original packing.
If the injury involves a limb and bleeding is uncontrolled, apply a tourniquet high and tight, proximal to the wound. Tighten until bleeding stops and note the time. Studies show that properly applied tourniquets can remain in place for 2 hours without significant risk of nerve damage, and even longer in cold conditions. However, a 2020 analysis in Wilderness & Environmental Medicine found that laypeople successfully controlled bleeding with tourniquets in 96% of simulated cases when they had received even brief training.
For torso or junctional wounds where a tourniquet can't be used, focus on wound packing and direct pressure. Use your body weight if necessary. If the patient shows signs of shock—rapid pulse, pale clammy skin, confusion—lay them flat, elevate their legs, and cover them with a space blanket. This isn't just comfort; it's a physiological necessity.
Treat Fractures and Sprains When Evacuation Is Delayed
A broken ankle on day two of a five-day trip changes everything. You have to stabilize the injury well enough to either self-evacuate or wait for rescue without causing further damage. The goal is to immobilize the joints above and below the fracture. For a lower-leg injury, that means splinting from the foot to above the knee. Use a SAM splint, trekking poles, or even rolled foam pads—whatever you have—and secure with elastic wrap, not cordage that can cut off circulation.
Check circulation, sensation, and motion (CSM) before and after splinting. Feel for pulses, ask the patient to wiggle toes or fingers, and check sensation with a light touch. Document your findings. If you lose pulses or sensation after splinting, loosen and readjust. A 2019 study of remote-area fractures found that effective splinting reduced pain scores by an average of 40% and significantly decreased the risk of neurovascular compromise during transport.
For sprains, the RICE protocol (Rest, Ice, Compression, Elevation) is still valid, but "ice" in the wilderness often means dunking the joint in a cold stream or applying a wet bandage. Don't let someone walk on a severe ankle sprain without a supportive wrap or a hiking pole to offload weight. Many rescues start because a sprain was ignored and the person took another fall.
"People often underestimate the psychological toll. Keeping the patient calm and warm isn't just comfort; it's physiological necessity to prevent shock." – Emily Hart, Expedition Medic
Managing Shock and Preventing Hypothermia
Shock isn't just a psychological response. It's a life-threatening condition where the circulatory system fails to deliver enough oxygen to vital organs. Any severe injury, including significant bleeding, fractures, burns, or even allergic reactions, can trigger it. In the wilderness, shock often pairs with hypothermia, which can accelerate fatality. When the body is cold, blood clotting slows, and the heart becomes more irritable. A patient who is both injured and cold is fighting two enemies at once.
Start by insulating the patient from the ground—a foam pad is worth its weight in gold. Wrap them in a space blanket, then add a sleeping bag or puffy jacket. If they're awake and not nauseous, give small sips of warm water. Never give alcohol. Monitor their level of responsiveness using the AVPU scale (Alert, Verbal, Pain, Unresponsive). If they drift from Alert to only responding to voice, that's a red flag.
Data from the Appalachian Trail Conservancy shows that hypothermia contributes to 12% of all medical evacuations, often alongside traumatic injuries. The wind-chill effect can drop core temperature 25 times faster when clothing is wet, so keep the patient dry at all costs. A simple trash bag can become an improvised vapor barrier.
Creating an Evacuation Plan You Can Execute
Sometimes the best first aid is a clear evacuation plan. You need to decide early whether the patient can walk out with assistance, needs a litter carry, or requires a helicopter rescue. That decision hinges on the severity of injuries, the distance to help, the terrain, and the weather. If you have a satellite communicator, activate it and follow the protocol. If not, you'll need to send a team for help, leaving at least one capable person with the patient.
Before anyone leaves, write down these details on a waterproof notecard:
- Exact location (GPS coordinates if possible)
- Patient's name, age, and known medical conditions
- Mechanism of injury and time of incident
- Vital signs—heart rate, respiratory rate, and AVPU score—and any changes
- Number of people in the group and their condition
- Resources on hand and specific needs (e.g., tourniquet, splint, medication)
Assign a "trigger" for re-evaluation. If the patient's condition changes—say, they become confused or their pulse weakens—that's your cue to escalate your plan, even if it means taking more risk. According to the Wilderness Medical Society, delayed evacuation in cases of head injury or internal bleeding increases the chance of a poor outcome by 30% for every hour without definitive care.
When moving the patient, protect the spine if a fall was involved. Log-roll them onto a pad, maintain inline stabilization, and use a makeshift cervical collar (a rolled jacket works) if you suspect a neck injury. Slow and steady wins this race.
Practice Makes Prepared
Reading about wilderness medicine is a start, but your skills degrade quickly without practice. A 2022 survey of outdoor enthusiasts found that 58% couldn't recall the correct steps for tourniquet application six months after a course. Build scenarios into your trips. On a rest day, pull out your kit and run a drill: "Your buddy just slipped and has an angulated forearm fracture. What do you do?"
Take a Wilderness First Aid (WFA) or Wilderness First Responder (WFR) course. These certifications aren't just for guides—they're for anyone who ventures off-grid. The hands-on training will teach you to improvise with what's around, from using a backpack as a splint to fashioning a traction device from trekking poles. You'll also learn to manage the stress of a real emergency, which is half the battle.
Keep your skills fresh by reviewing protocols before each major trip. Check expiration dates on your kit. Update it with new items that reflect your group's needs—maybe an epinephrine auto-injector if someone has a known allergy. Preparedness isn't a one-time event; it's a habit that can save a life when the trail goes quiet and you're the only help for miles.
↑