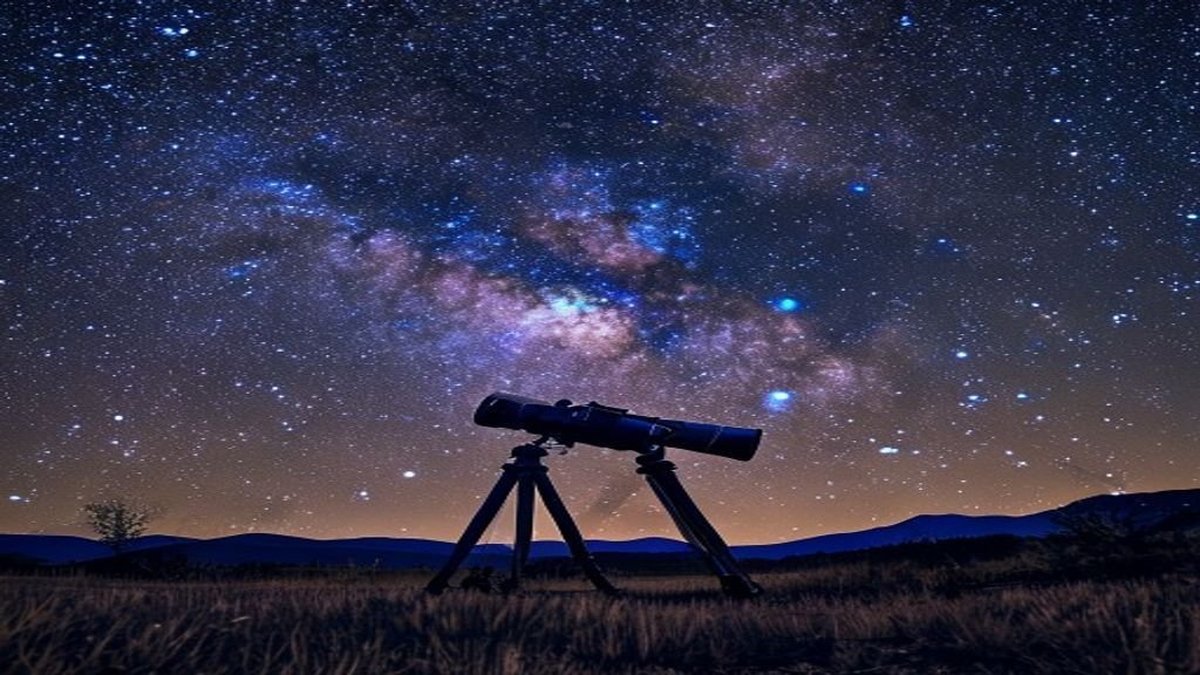
Your Night Sky Toolkit: Camera and Lens Basics
You don't need a $5,000 rig to start capturing the Milky Way. Any modern DSLR or mirrorless camera with manual controls will work. The key is a fast, wide-angle lens with an aperture of f/2.8 or wider. A 14-24mm f/2.8 is ideal, but a kit lens at 18mm f/3.5 can still produce solid results if you push your ISO higher.
Your tripod is your most overlooked piece of gear. A shaky tripod ruins every 20-second exposure you attempt. Look for a model that supports at least 1.5 times your camera weight, and always use a remote shutter release or your camera's 2-second self-timer to avoid vibration. A simple wired remote costs under $20 and saves dozens of frames.
"The difference between a good night sky image and a great one is almost always the tripod. I've seen photographers with $4,000 cameras produce blur because their tripod head slipped. Invest in stability first." — Mark Sorenson, Night Photography Instructor
Manual Mode Foundations: Aperture, Shutter, ISO
Set your camera to full Manual mode. Start with your aperture wide open — that means the smallest f-number your lens allows, like f/2.8 or f/1.8. You need every photon you can get. Your shutter speed depends on the 500 Rule: divide 500 by your lens's focal length to get the maximum seconds before stars trail. For a 24mm lens, that's 500/24 = about 20 seconds. For a 14mm lens, you get around 35 seconds.
ISO is your final variable. Start at ISO 3200 and take a test shot. If the image is too dark, bump to ISO 6400. If it's blown out or noisy, drop to ISO 1600. Modern cameras handle ISO 6400 surprisingly well, especially if you shoot in RAW format and process later. Remember: a noisy shot you can edit is better than a blurry shot you can't.
One specific data point: at ISO 3200 with a 20-second exposure at f/2.8, you'll capture stars down to magnitude 12 or 13 in a dark sky location — that's thousands of stars per frame. In a city with light pollution, you'll see only the brightest 50-100 stars, so drive at least 30 miles from urban centers for your best results.
Focusing in the Dark: Getting Stars Sharp Every Time
Auto-focus fails completely at night. Switch your lens to manual focus, then use Live View on your camera's LCD screen. Zoom in digitally on a bright star (magnify it 5x or 10x if your camera allows). Slowly turn the focus ring until that pinpoint of light is as small and sharp as possible. If the star looks like a donut or a blob, you're out of focus.
A trick many beginners miss: tape your focus ring once it's set. A piece of gaffer tape or painter's tape prevents accidental bumps. Even a millimeter of focus shift ruins an entire night's work. For lenses without hard stops, mark the infinity symbol position with a permanent marker after you've focused successfully.
One data point: at 24mm f/2.8, your depth of field at infinity focus means everything from about 15 feet to the stars is acceptably sharp. That's why you can include foreground elements like trees or rocks without them being blurry, as long as they're at least 15 feet from your lens.
"I tell every student: spend 90% of your night setup time on focus. If you get that right, your images are 80% done. Focus is the single most common failure point in beginner astrophotography." — Dr. Elena Vasquez, Astrophotography Workshop Leader
Composition with the Milky Way: Foreground and Sky Balance
Don't just point your camera straight up. The most compelling night images include a strong foreground element — a silhouetted tree, a mountain ridge, an old barn. Use your headlamp to light the foreground for 2-3 seconds during the exposure if you want detail, or leave it dark for a pure silhouette. A 3-second light painting at the start of a 20-second exposure adds just enough detail without overpowering the stars.
Check your composition by taking a test shot at a high ISO (like ISO 12800) for just 5 seconds. You'll see exactly where the Milky Way falls in your frame. Then dial your settings back for the real exposure. The Milky Way core is brightest between June and September in the Northern Hemisphere, rising in the southeast and arcing overhead. Use a stargazing app like Stellarium or PhotoPills to predict its exact position on any given night.
- Rule of Thirds: Place your horizon on the lower third line if the sky is your main subject, or on the upper third if the foreground is more interesting.
- Leading Lines: Use roads, fences, or shorelines to draw the viewer's eye from the foreground into the stars.
- Silhouettes: A lone tree or person on a ridge adds scale. Have a friend stand still for 20 seconds — they'll appear as a crisp, dark shape against the sky.
Managing Noise and Light Pollution for Cleaner Images
Light pollution from cities washes out faint stars and creates a muddy orange glow. Use a light pollution filter if you shoot near urban areas — a clip-in filter for your lens or a rear-mounted filter for your camera body cuts sodium vapor and mercury vapor wavelengths. These filters drop your exposure by about one stop, so compensate with a higher ISO or longer shutter speed. In truly dark skies (Bortle Class 1 or 2), you don't need a filter at all.
Long exposure noise reduction (LENR) is a camera setting that takes a second exposure with the shutter closed to map and subtract hot pixels. It doubles your shooting time, but it's worth it for single exposures. If you plan to stack multiple images later in software, turn LENR off — stacking software handles noise better and saves you time in the field. A single 20-second exposure at ISO 3200 on a modern camera produces roughly 15-20 hot pixels; stacking 8 frames reduces those to nearly zero.
Shoot in RAW format, not JPEG. A RAW file captures 12-14 bits of data per channel, compared to 8 bits in JPEG. That extra data gives you latitude to pull out faint nebula colors and correct white balance without destroying image quality. One RAW file from a 24-megapixel camera takes about 30 MB of space, so bring at least two 64 GB memory cards for a full night of shooting.
Post-Processing Basics: From RAW to Stunning
Your raw files will look flat and gray straight out of camera. That's normal. Open them in Lightroom or a free tool like RawTherapee. First, adjust white balance — set it to around 4000K for a natural night look, or 3500K for a cooler, bluer tone. Then increase contrast by about +20 to +30 to separate the Milky Way from the sky background. Use the Dehaze slider (if available) at +15 to +25 to cut atmospheric haze and make stars pop.
Reduce noise carefully. Use Luminance Noise Reduction at 20-30 and Color Noise Reduction at 15-25. Too much luminance reduction turns stars into soft blobs. Zoom in to 100% and check that star edges remain sharp. A final step: add a slight vignette (darken the corners by -10 to -15) to draw the eye toward the Milky Way core. Do not over-saturate the stars — natural color is subtle, with blue and purple tones, not neon green or red.
"The best astrophotography processing looks like what you saw with your own eyes, just a little more vivid. If your stars are glowing green or your sky is purple, you've gone too far. Less is almost always more." — James Weller, Senior Editor at Sky & Telescope
Export your final image as a high-quality JPEG at 300 dpi for printing, or at 72 dpi for web sharing. A 16x24 inch print from a 24-megapixel camera holds detail beautifully at 300 dpi. Share your work on forums like Cloudy Nights or AstroBin to get constructive feedback — and remember, every expert started with a blurry star or a blown-out foreground. Keep shooting, and your night sky images will improve with every session.
↑